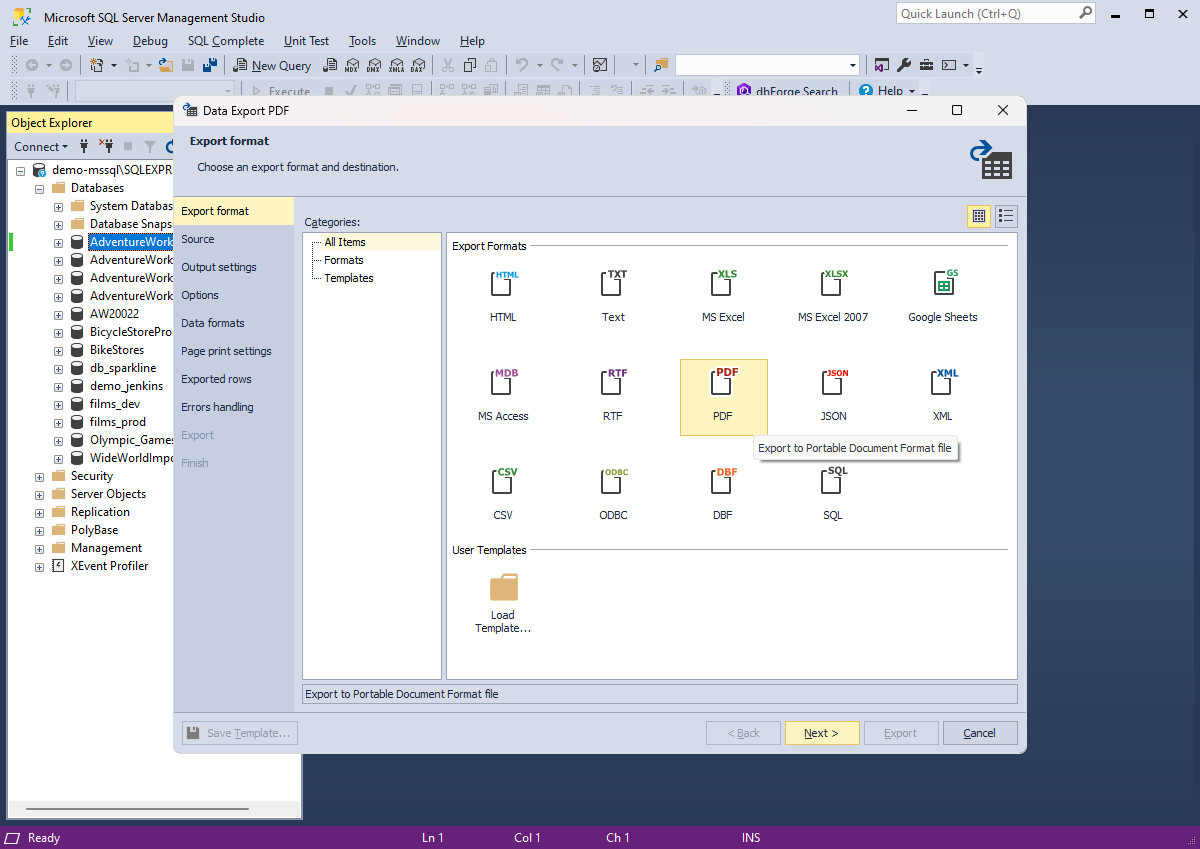
How to export SQL Server data to PDF

In the data-driven world, a growing number of users need to efficiently transform and share SQL database information in a portable and widely accessible format.

Exporting data to PDF has become indispensable for reasons ranging from creating reliable reports and facilitating offline access to ensuring secure data sharing.

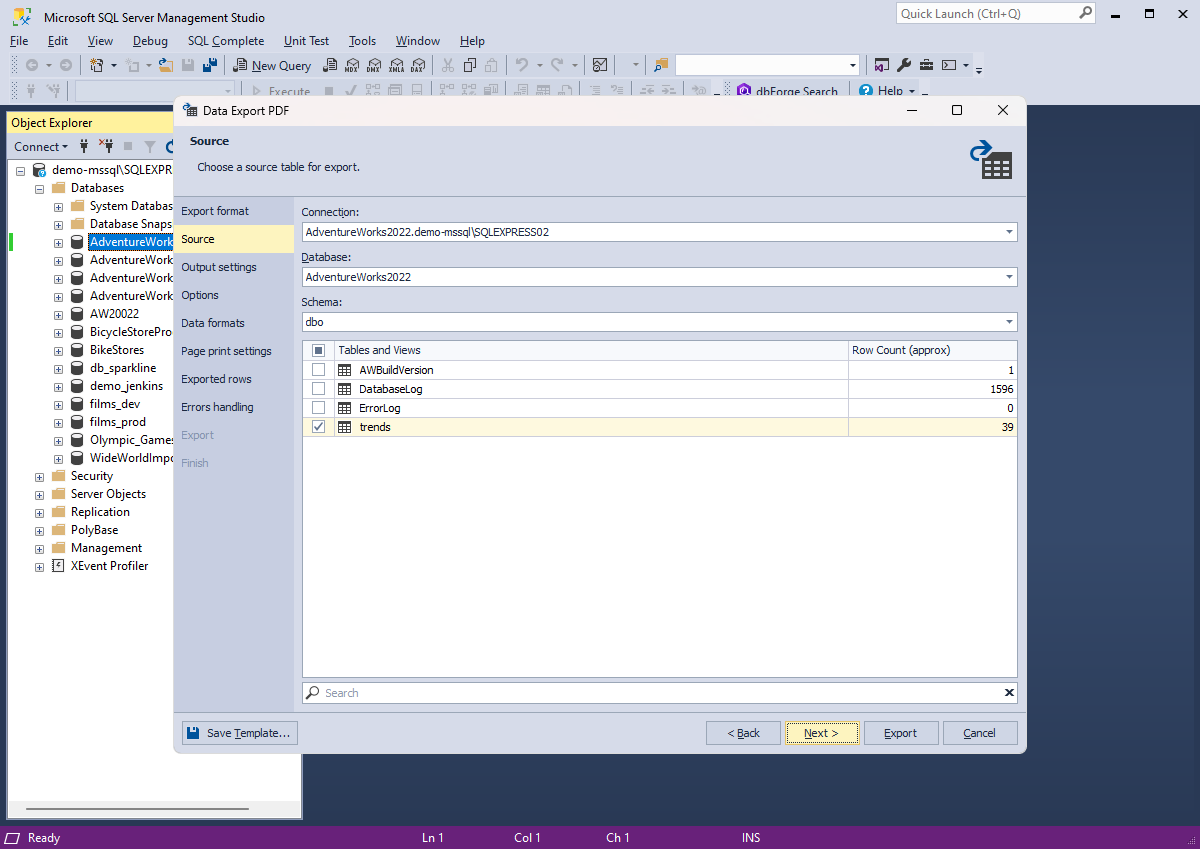
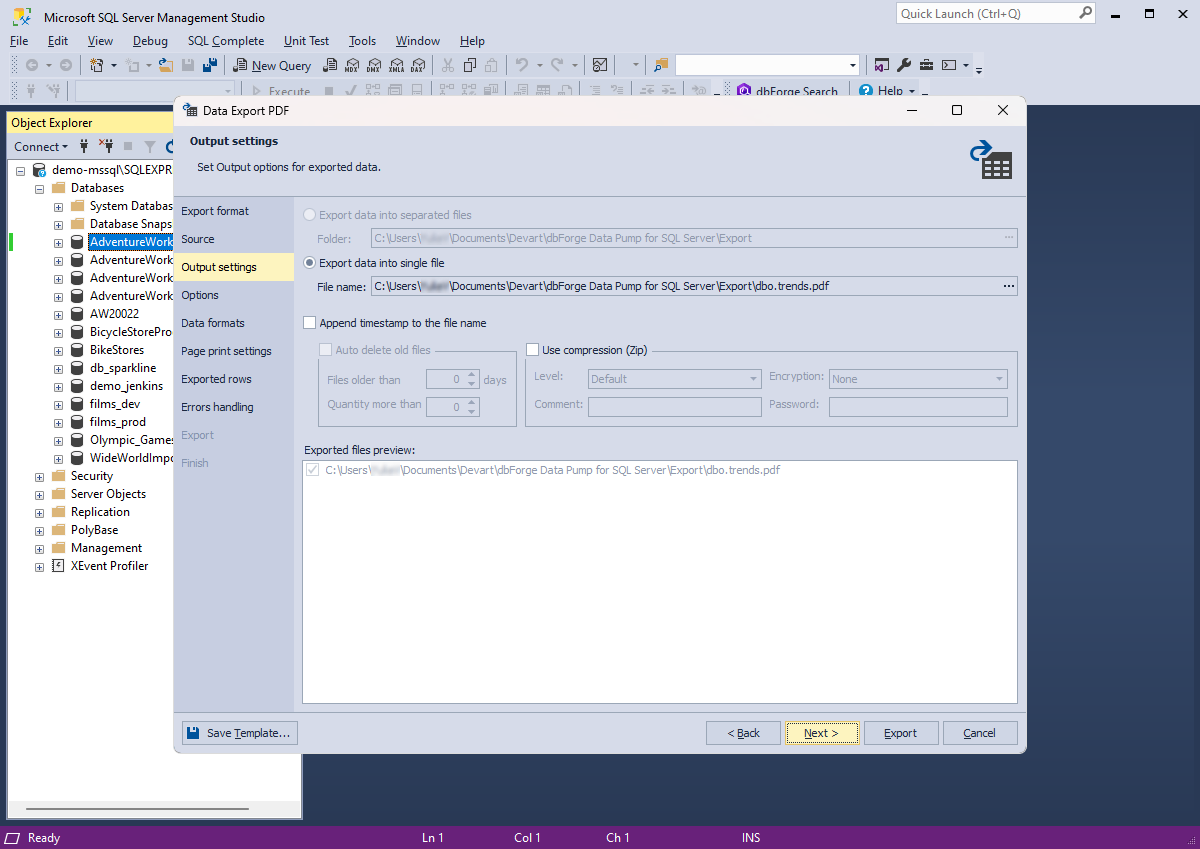
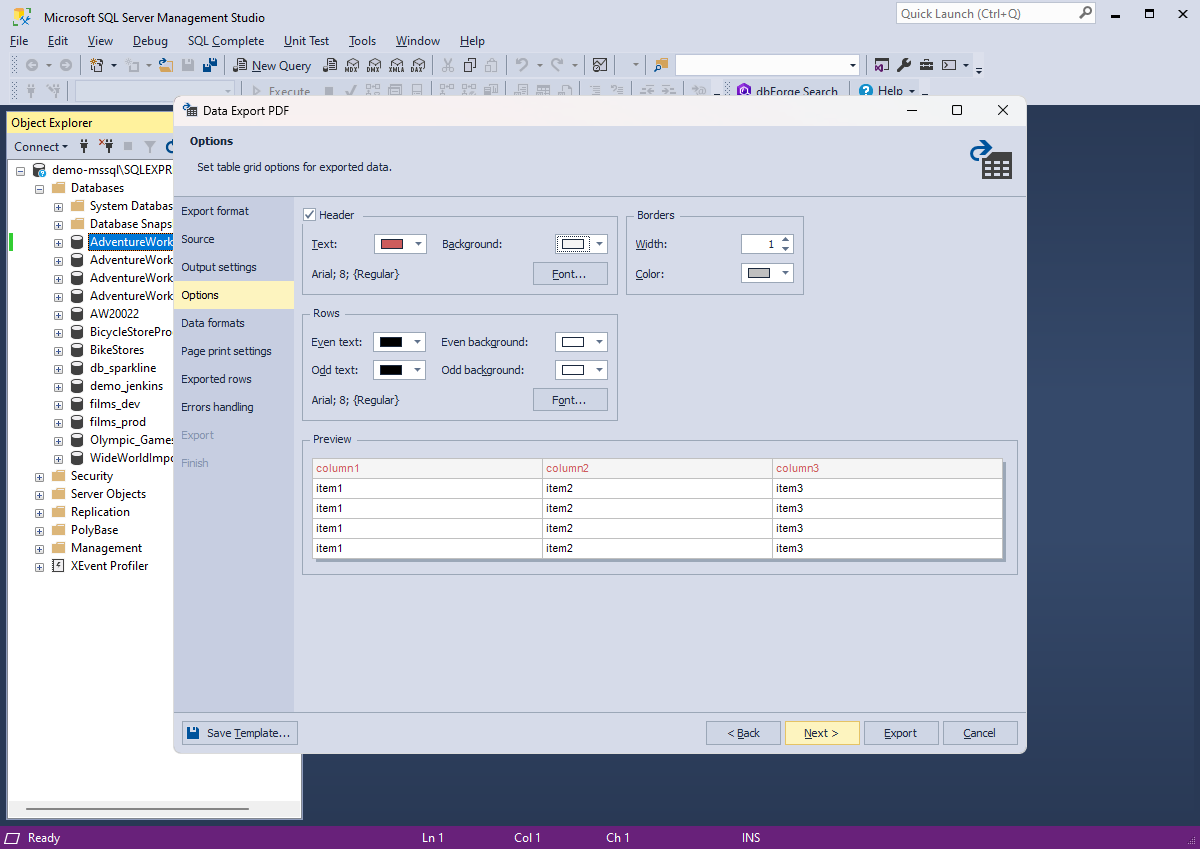
In this article, we'll guide you through the step-by-step process of exporting data from a SQL database to a PDF file using dbForge Data Pump.

  • Support multiple data formats, allowing users to work with different data types, including CSV, SQL, XML, etc.
  • Offer different advanced options and templates for recurring scenarios
  • Populate database tables with data
  • Export table data to single or multiple SQL files
  • Migrate data from third-party databases to SQL Server
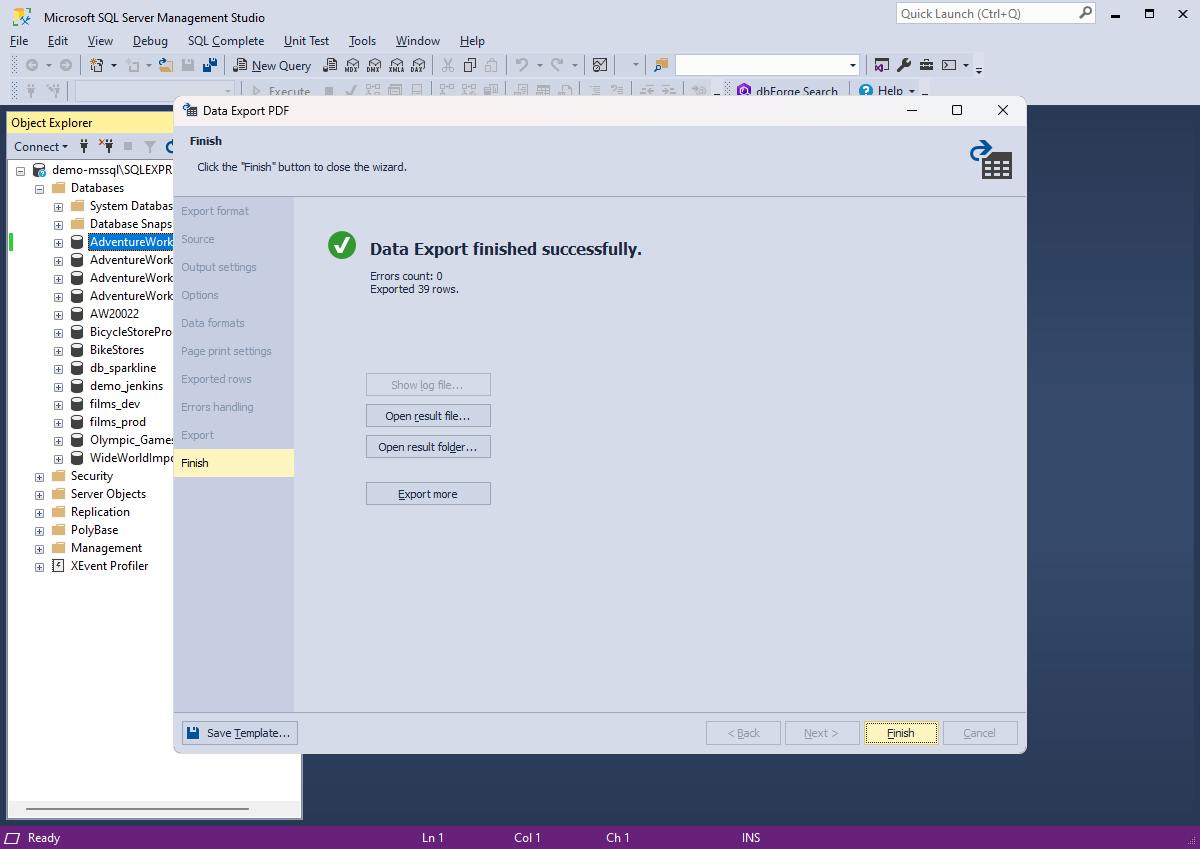
  • Allow users to track and review the progress of data transfer operations for troubleshooting and optimization through to the detailed logs and monitoring features
  • Provide tools for data transformation and mapping to adjust data structures during transfer to match the target database requirements
  • Automate data export and import operations from the command line

Export data to PDF

PDF (Portable Document Format) was introduced by Adobe as a standard for representing documents in a format independent of software, hardware, or operating systems.

1. In Object Explorer, right-click a database and select Data Pump > Export Data.

2. On the Export format page of the Data Export wizard, select the PDF export format or load export options from a template file if you saved it previously. To proceed, click Next.

Select the export format file in the Data Export wizard

3. On the Source page, the server connection and database are pre-selected. However, you can choose a different connection from the previously established ones and a database from the dropdown list. You also need to select the schema and tables/views you want to export.

To switch to the Output settings page, click Next.

Choose a source table for data export

4. On the Output settings page, you can choose to:

  • Export data into separate files: Specify the path to the folder that will save the exported files
  • Export data into single file: Specify the path and the file name

You can also select some additional options:

  • Append timestamp to the file name to add the current date and time to the file name
  • Auto delete old files that are older than a specified number of days
  • Use compression (Zip) to create an archive file of the exported files. You can also specify the compression level, add a comment, encrypt your archive with AES128 or AES256 encryption, and specify a decryption password

Note that if the destination folder does not exist, the application will prompt you to create it - click Yes to proceed.

Set output options for exported data

5. On the Options page, you can set the table grid options for exported data:

  • Select Header to set the text and background
  • Select colors for even and odd text and background
  • Specify fonts for the header and rows
  • Set the width and color of borders

To see how the table will look like, go to the Preview section.

Set table grid options for exported data

6. The Data formats page has two tabs:

  • Columns, where you can select columns for data export and check their aliases and data types
  • Formats, where you can change the default format settings for Date, Time, Date Time, Currency, Float, Integer, Boolean, and Null String, as well as select the required binary encoding from the dropdown list
Select columns for export

7. On the Page print settings page, you can set page print options:

  • Select the page size
  • Select portrait or landscape orientation
  • Specify left, right, top, and bottom margins
  • Add the header and footer text
  • Select the Repeat a table header checkbox to print the header on each page

You can also see the appearance of the page in the Preview section.

Set page print options

8. On the Exported rows page, you can select the option that allows you to:

  • Export all rows
  • Export the rows you selected on the Data formats page
  • Export the specified range of rows
Select rows for export

9. On the Errors handling page, you can specify the error processing behavior using one of the three available options:

  • Prompt a user for an action
  • Ignore all errors
  • Abort at the first error

Under Log settings, you can select the Write a report to a log file checkbox and specify a path to the log file.

If you want to save your export settings as a template for recurring scenarios, click Save Template.

10. Click Export to perform the data export operation.

Specify the error handling options

When the data export is complete, the progress page will open, providing feedback on the success or failure of the export operation.

In case of a successful export, you can view the number of exported rows and any errors encountered if you select the Ignore all errors option on the Error handling page. You can also open the exported file or folder, initiate another export operation, and access the log file. To close the wizard, click Finish.

In the event of an unsuccessful export, the progress page will display the specific error that led to the export failure. From this point, you can start a new data export operation.

Data export has been successfully finished

Conclusion

dbForge Data Pump stands out as an exceptionally user-friendly tool for exporting and sharing data from SQL databases to PDF format. With its extensive range of features, it becomes an essential asset for database professionals engaged in tasks such as data transfer, migration, and manipulation.

Try dbForge Data Pump for SQL Server and speed up your data transfer tasks! Try now

dbForge SQL Tools

Enhance SSMS functionality with essential add-ins and tools, such as Data Pump